Modelify is an extension of Atlas and the Eclipse platform, so the first step to working with C code is to import it into a C project in Eclipse.
Follow the steps below to import your code.
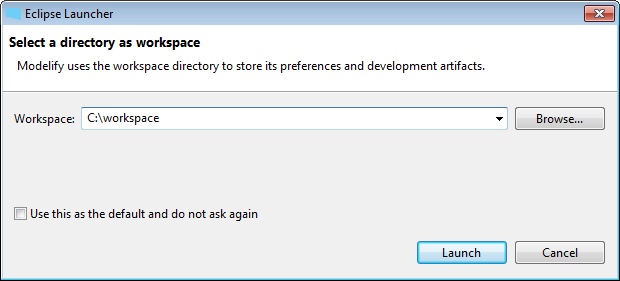
Start Modelify by executing the modelify.exe file located in the Modelify installation directory. Modelify will ask you to choose a directory for your workspace, which is simply the directory where your projects will be stored.

The first time that Modelify opens, it will show the welcome screen. Click the X button in the Welcome tab to open the workbench.
To follow along with this section, we will use a demonstration project. After completing this Getting Started section, you may refer to the Project Configuration section for instructions on how to import your own code.
To import the demonstration project:
This will import the Stopwatch Demo project and will automatically create the modelify.config project conversion file for the project.
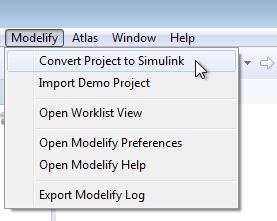
If you are creating a new project, it is necessary to create the project conversion file manually. Once the project is created, click on Modelify > Convert Project to Simulink. Then select the project in the dialog and click on Finish.

A modelify.config project conversion file is created and opened in the project conversion editor. Since the project has not yet been mapped by Atlas, Modelify shows a dialog to confirm whether the project should be mapped. Click Yes to proceed.

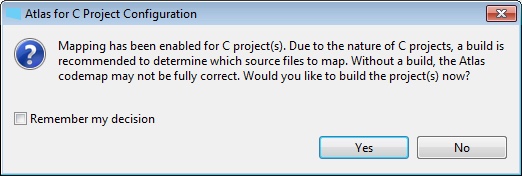
If the project has not been built yet, Atlas will ask whether you would like to build the project before mapping it. A successful build helps Atlas to create a more precise codemap. The Project Configuration section provides information to help you compile your project in eclipse. However, for the purpose of this demonstration you can skip the build step, so click on No.
